Ghosts, Gates, and Getting It Wrong: A Design for Life
Building a modulation instrument, and why the hard part was never the DSP.
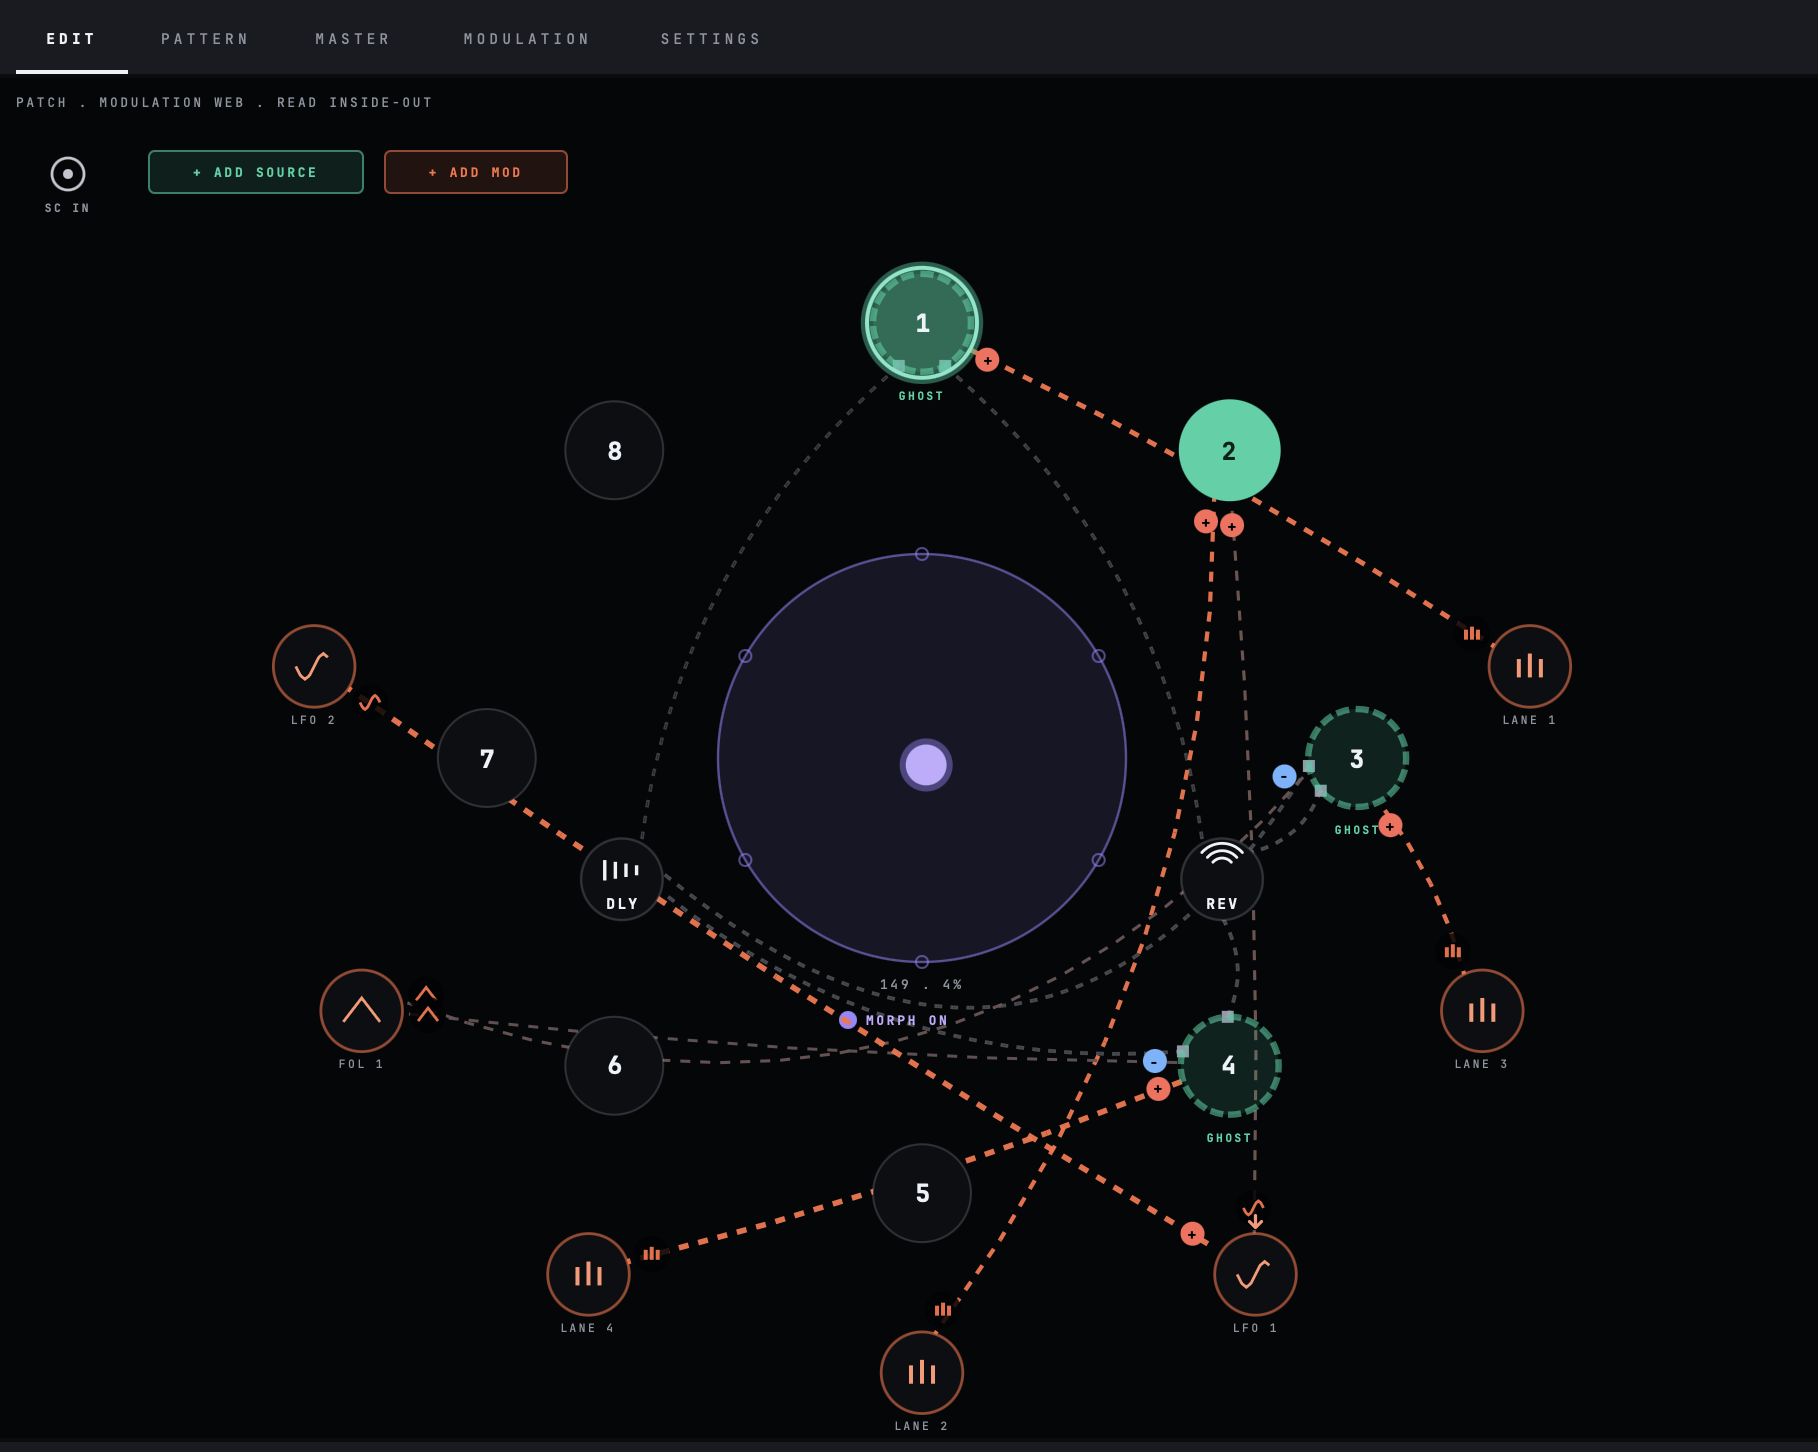
Life is an experimental modulation instrument I have been building over the past few months.
Eight source voices, each one a sampler, a granular engine or a live input, each split into three frequency bands with its own envelope follower. There are sixteen LFOs. Sixteen envelopes. And a pattern engine that generates polymetric rhythm from rules rather than steps. On top of that, there’s a a circular morph pad that blends whole scenes into each other. Around seven hundred parameters, most of which can modulate most of the others. And a full mastering chain plus effects to glue things together neatly.
I called it Life quite simply because it breathes life across a set of sounds. Not only that, it gives a totally different approach to making music. There’s no audio file editing, no timeline arrangement. You don’t record sound on top of each other - you create Life through blending existing and incoming sounds and shaping how they interact.
It is aimed squarely at the kind of music that just moves. Weird techno, classical electro-acoustic, experimental electronica, the more complex corners of ambient. Which means the failure mode I have been most afraid of is not a crash or a click. It’s sterility. Clean, clinical, technically-correct DSP that sounds like a lab instrument. The reason I download so many plugins, play with 20 minutes then discard.
The engine has been built and verified for a while now. What I have actually spent my time on, and what I this article is about, is something less glamorous and far more interesting. Deciding what each control should actually mean.
When you have seven hundred parameters and a modulation matrix that can route almost anything to almost anything, the DSP stops being the difficult bit. The difficult bit is that every control now carries a claim about how the instrument thinks.
The circle, not the square
The morph pad is the centre-piece of the interface. It holds scenes: full snapshots of the instrument, which you blend between.
Every morph control I have ever used is a square XY pad with a scene in each corner. It is the obvious shape. It is also, I think, the wrong one.
A square has corners, and corners are a lie. In a square pad, the distance from centre to a corner is longer than the distance from centre to an edge, so the amount of a scene you get depends on which diagonal you happen to be travelling along. Worse, there are exactly four slots, because there are exactly four corners. The geometry is dictating the musical structure.
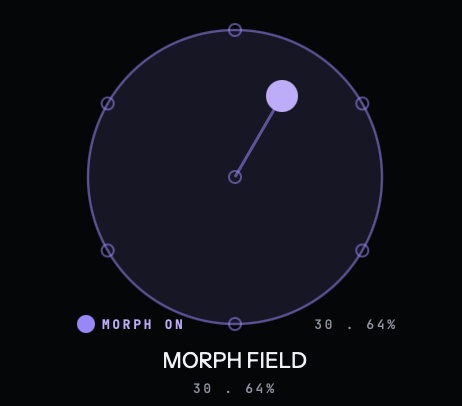
Life’s morph is polar, an angle and a radius. Scenes sit around the rim, the centre is home, and the puck moves in a disc. Angle chooses what you are morphing towards, radius chooses how far. They are independent, which is exactly how it feels in the hands. And because it is a circle rather than a box, you can orbit - so route an LFO to the morph angle and the instrument will drift continuously around its own scene bank, never quite settling. That move is only possible because the shape allows it.
The control principle: The geometry of a control is not neutral. It quietly decides what gestures are possible. Choose the shape that permits the music you want, then build the maths to fit.
Ghost: a state, not a switch
The technique that made me want to build Life in the first place goes like this. Take a source. Pull its level all the way down so it is silent in the mix. But leave its envelope follower feeding the modulation matrix, and leave its send feeding the delay.
Now you have a sound that does not exist, except as the shape it carves into everything else. It ducks the bass. It opens a filter. It exists only as an echo. I call it a ghost.
You can do this in other tools, but it’s fiddly and it’s an after thought - not a feature. You can the ghost effect in action (and in anger) in this song on my last EP:
The obvious way to build this is a ghost button. I did not, and this took me a while to see clearly. Ghost is not a mode you enter. It is what naturally happens when a source is quiet and its routes are live. It is an emergent state, not a switch, and it emerges from controls that already exist.
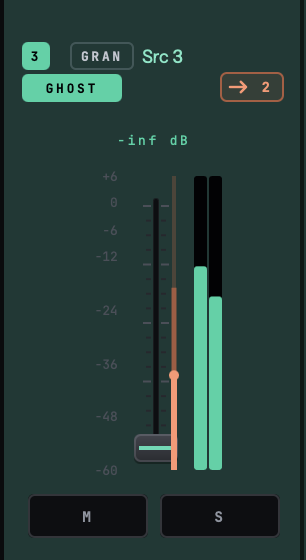
So there is no ghost parameter in Life. The interface simply recognises the condition and shows you that it is happening. The difference sounds pedantic and is not: a ghost button would have implied there is a special mode you have to be in, when in fact the instrument has been capable of this the entire time and I merely needed to point at it.
I nearly went the other way twice more, later on, in the same way. Both times the temptation was to add a control that appears only in ghost mode. Both times the answer was that a control which vanishes depending on state is worse than one that is simply always there.
Not one knob, but forty
Showing modulation on a control is a solved problem, and I had already solved it once. Tides does it, and goes a step further, animating the current value around the morph ring.
The rule is well established and every serious modulation environment lands on it. Serum, Bitwig, Ableton: the knob stays exactly where you set it, and a ring around it shows what the modulation is doing. Two pieces of information, two visual channels, no conflict. The alternative, letting the knob graphic track the modulated value, breaks immediately: the control stops showing the value you set, it squirms under your hand when you grab it, and “where is this actually set?” becomes unanswerable. Nobody has to relearn this. I did not.
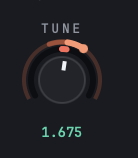
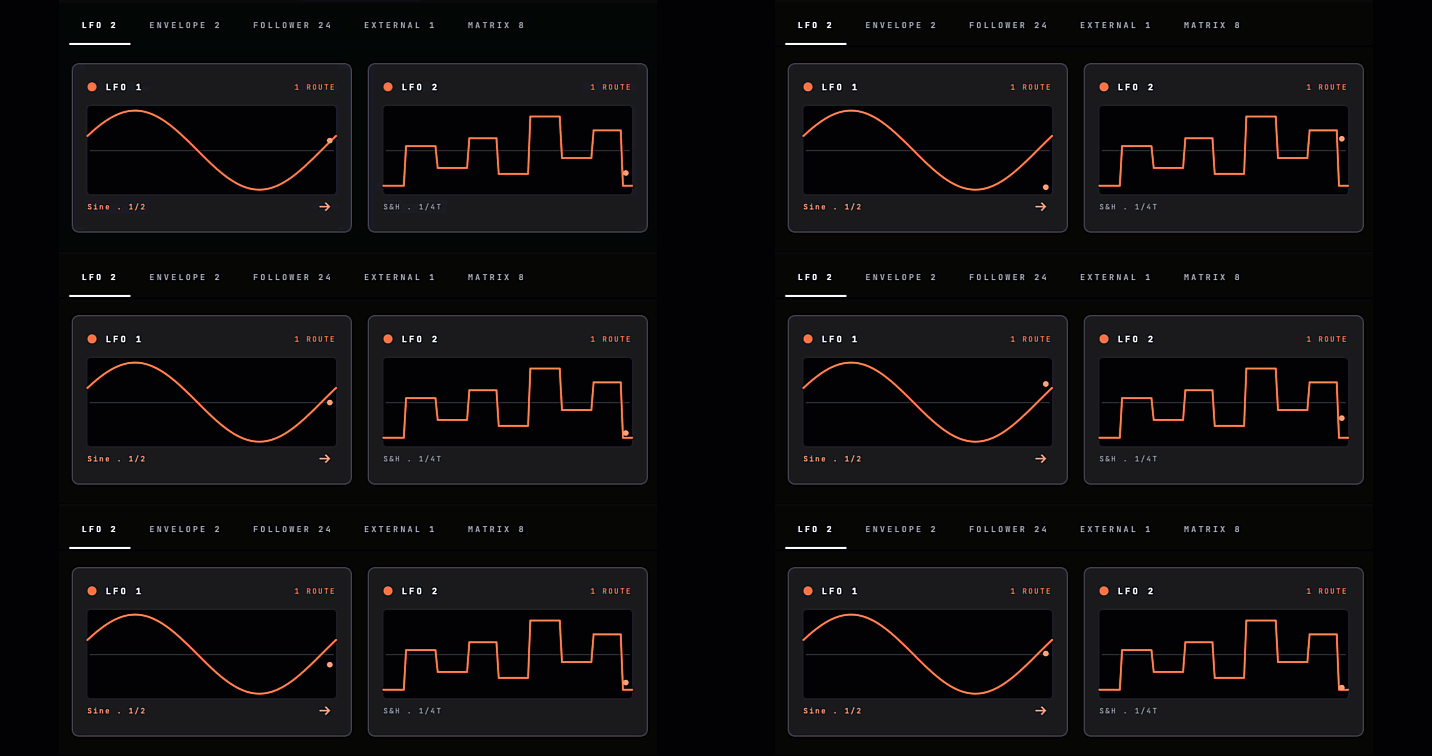
What is new in Life is the sheer scale. Tides has a handful of modulated destinations. Life has around forty per voice, across eight voices, plus the effects and the master chain, and the whole point of the instrument is that a lot of them are moving at once. Apply the solved rule naively and you get a screen where every control is writhing simultaneously. That is not information. That’s visual noise (and processing overhead!), and it is arguably less legible than showing nothing at all.
So the actual design decision was not how to draw one ring. It was how to draw forty without the page turning to jitter. Two choices did most of the work. The prominence of each arc scales with how hard that parameter is actually being pushed, so a barely-touched control stays almost invisible and only meaningful movement earns your eye. And the arcs are drawn only for what is on screen, rather than animating hundreds of controls you are not looking at.
The result is that a lightly-modulated page sits quiet and a heavily-modulated one comes alive, on its own, without me deciding in advance which controls deserve attention. The instrument decides, by moving.
Speed is multiplicative
Late on, deep into testing, I realised I wanted movement that speeds up and slows down without me touching anything. Which means modulators modulating other modulators.
Adding LFO rate as a modulation destination is a small change. Getting it to feel right is not, and the trap is a single line of arithmetic.
The naive implementation adds an offset in Hz. Modulate rate by, say, one unit, and every LFO gets one more Hz. Which means a slow LFO at 0.2 Hz barely twitches, and a fast one at 8 Hz lurches violently. The same control does two completely different things depending on where you happened to set it.
Rate is perceptually multiplicative. Doubling is what matters, not adding. So the modulation has to be applied in log space, in octaves, and then exponentiated: rate x 2^offset. Do that and one control means one thing everywhere, an accelerando feels like an accelerando, and a slow LFO and a fast one respond in the same musical way. This is the same reason we tune instruments in semitones instead of Hz, and it is exactly the sort of thing that is invisible when you get it right and unusable when you get it wrong.
Where I got it wrong
Well, I’ve got a tonne of these as I learned at every step on the way. So here’s some highlights:
I wrote down modulation targets I had not actually built. Hah. Two parameters were marked in my own documentation as available modulation destinations. They were not. I had flagged them early, intending to wire them up, and then never had. Nothing had ever tried to use them, so nothing had ever caught it, and for months I was confidently reading my own optimism back to myself as though it were fact.
I specified the boring version of a feature without realsiing till it was too late. I designed the effects engine to behave as modulation destinations, and built the design around modulating the reverb and delay return levels. When I went back and checked it properly, I realised the levels were the wrong target entirely. What I actually wanted was to modulate the delay time, the feedback and the damping. Modulating a delay’s feedback is musical. Modulating its output level is a mixing move dressed up as a musical one. I had specified the dull option and had to talk myself out of it.
And I forgot to enable one of the most important buttons under the hood. Rebuilding the interface, I lost the toggle that switches the morph engine on - in fact I totally forgot about it. Everything underneath it still worked perfectly: the blend was being computed every single block, correctly, continuously. But the flag that enables it no longer had any control attached to it, and it defaults to off. So the centrepiece of the instrument did precisely nothing when you dragged it, while the scene recall buttons sitting right next to it worked fine. It took a proper trace through four layers of the signal path to find, and it was days of reinventing an already working wheel until I remembered what it was - in the early days I decided the morph should be optional so created a toggle for it, but then it became intrinsic to the instrument I couldn’t imagine it not being enabled so it was forever on, until the full UI rebuild.
The fix was documentation
The thing that finally caught these was not a better testing regime. It was writing down, in one place, every single control the instrument needs to expose, bound to the actual parameter it drives. Funnily enough, I’ve said this so many times over the years in my day-jobs - documentation is the product.
I had a full architecture spec. I had ten work packages with complete parameter tables. I had a UI design brief. Each of those documents was complete and correct within its own remit, and none of them was a list of what the interface must contain. So things fell through the gaps between them, silently, because no document was responsible for noticing. And frankly, this this was getting to big it was mentally exhausting trying to remember it all.
| The document | What it is complete on | What it cannot tell you |
|---|---|---|
| Architecture and work packages | Every parameter, every contract | Whether the interface exposes them |
| UI design brief | The interaction model, the layout, the feel | Which specific controls must exist |
| Coverage map | Every required control, bound to a real parameter | (this is the one that was missing) |
Building that map, and then checking it against what the plugin had actually registered rather than what I thought it had, is what surfaced the phantom modulation targets, the wrong effect parameters, and eventually the morph gate that I’d forgotten about. It is now the contract that everything else gets checked against.
If I take one thing from this project into the next one, it is that. The most valuable document I wrote was the one whose entire purpose was to be wrong in a way I could see.
Where it is now
The engine is built and verified. The interface is built. Life is about to go to a very small number of people as a private alpha, with no factory presets at all, because I want to spend real time playing it before I decide what a preset should even sound like. And in all honesty, I started putting together something amazing sounding, didn’t save it then I couldn’t recreate it. V. annoying.
I will put up a full project page when it is finished, with demos and downloads. In the meantime, it makes noises and dare I say music I did not expect, which is the entire point. And I’m learning to play it, like an actual instrument. It really is breathing Life.
(And if you read this far, then yes the title of this post is an intentional Manics steal.)